Chat
Products

Get unique, complex parts easily. No matter your requirements, Chaoyi Spring creates hard-to-produce coil springs and wire forms.

Custom Wire Forms

Let us help you create the custom wire form you need, from S-hooks and J-hooks to utility hooks and more.

Industries

We work closely with customers across a wide range of industries, helping them design and manufacture made-to-order parts.

Advantage

Why choose Chaoyi Spring? We prioritize customer-focused collaboration, modern equipment and the latest technology to make your parts per print.

How to Replace Tension Springs on a Garage Door: A Step-by-Step Guide

Replacing tension springs on a garage door can be a daunting task, but with the right tools and knowledge, it can be a manageable DIY project. This comprehensive guide will

Spring_Resources_Hero
decorative image

Replacing tension springs on a garage door can be a daunting task, but with the right tools and knowledge, it can be a manageable DIY project. This comprehensive guide will walk you through the entire process, from safety precautions to final checks, ensuring you can tackle this job with confidence. Remember, safety is paramount, so always prioritize your well-being by following instructions carefully and seeking professional assistance if you're uncertain about any step.
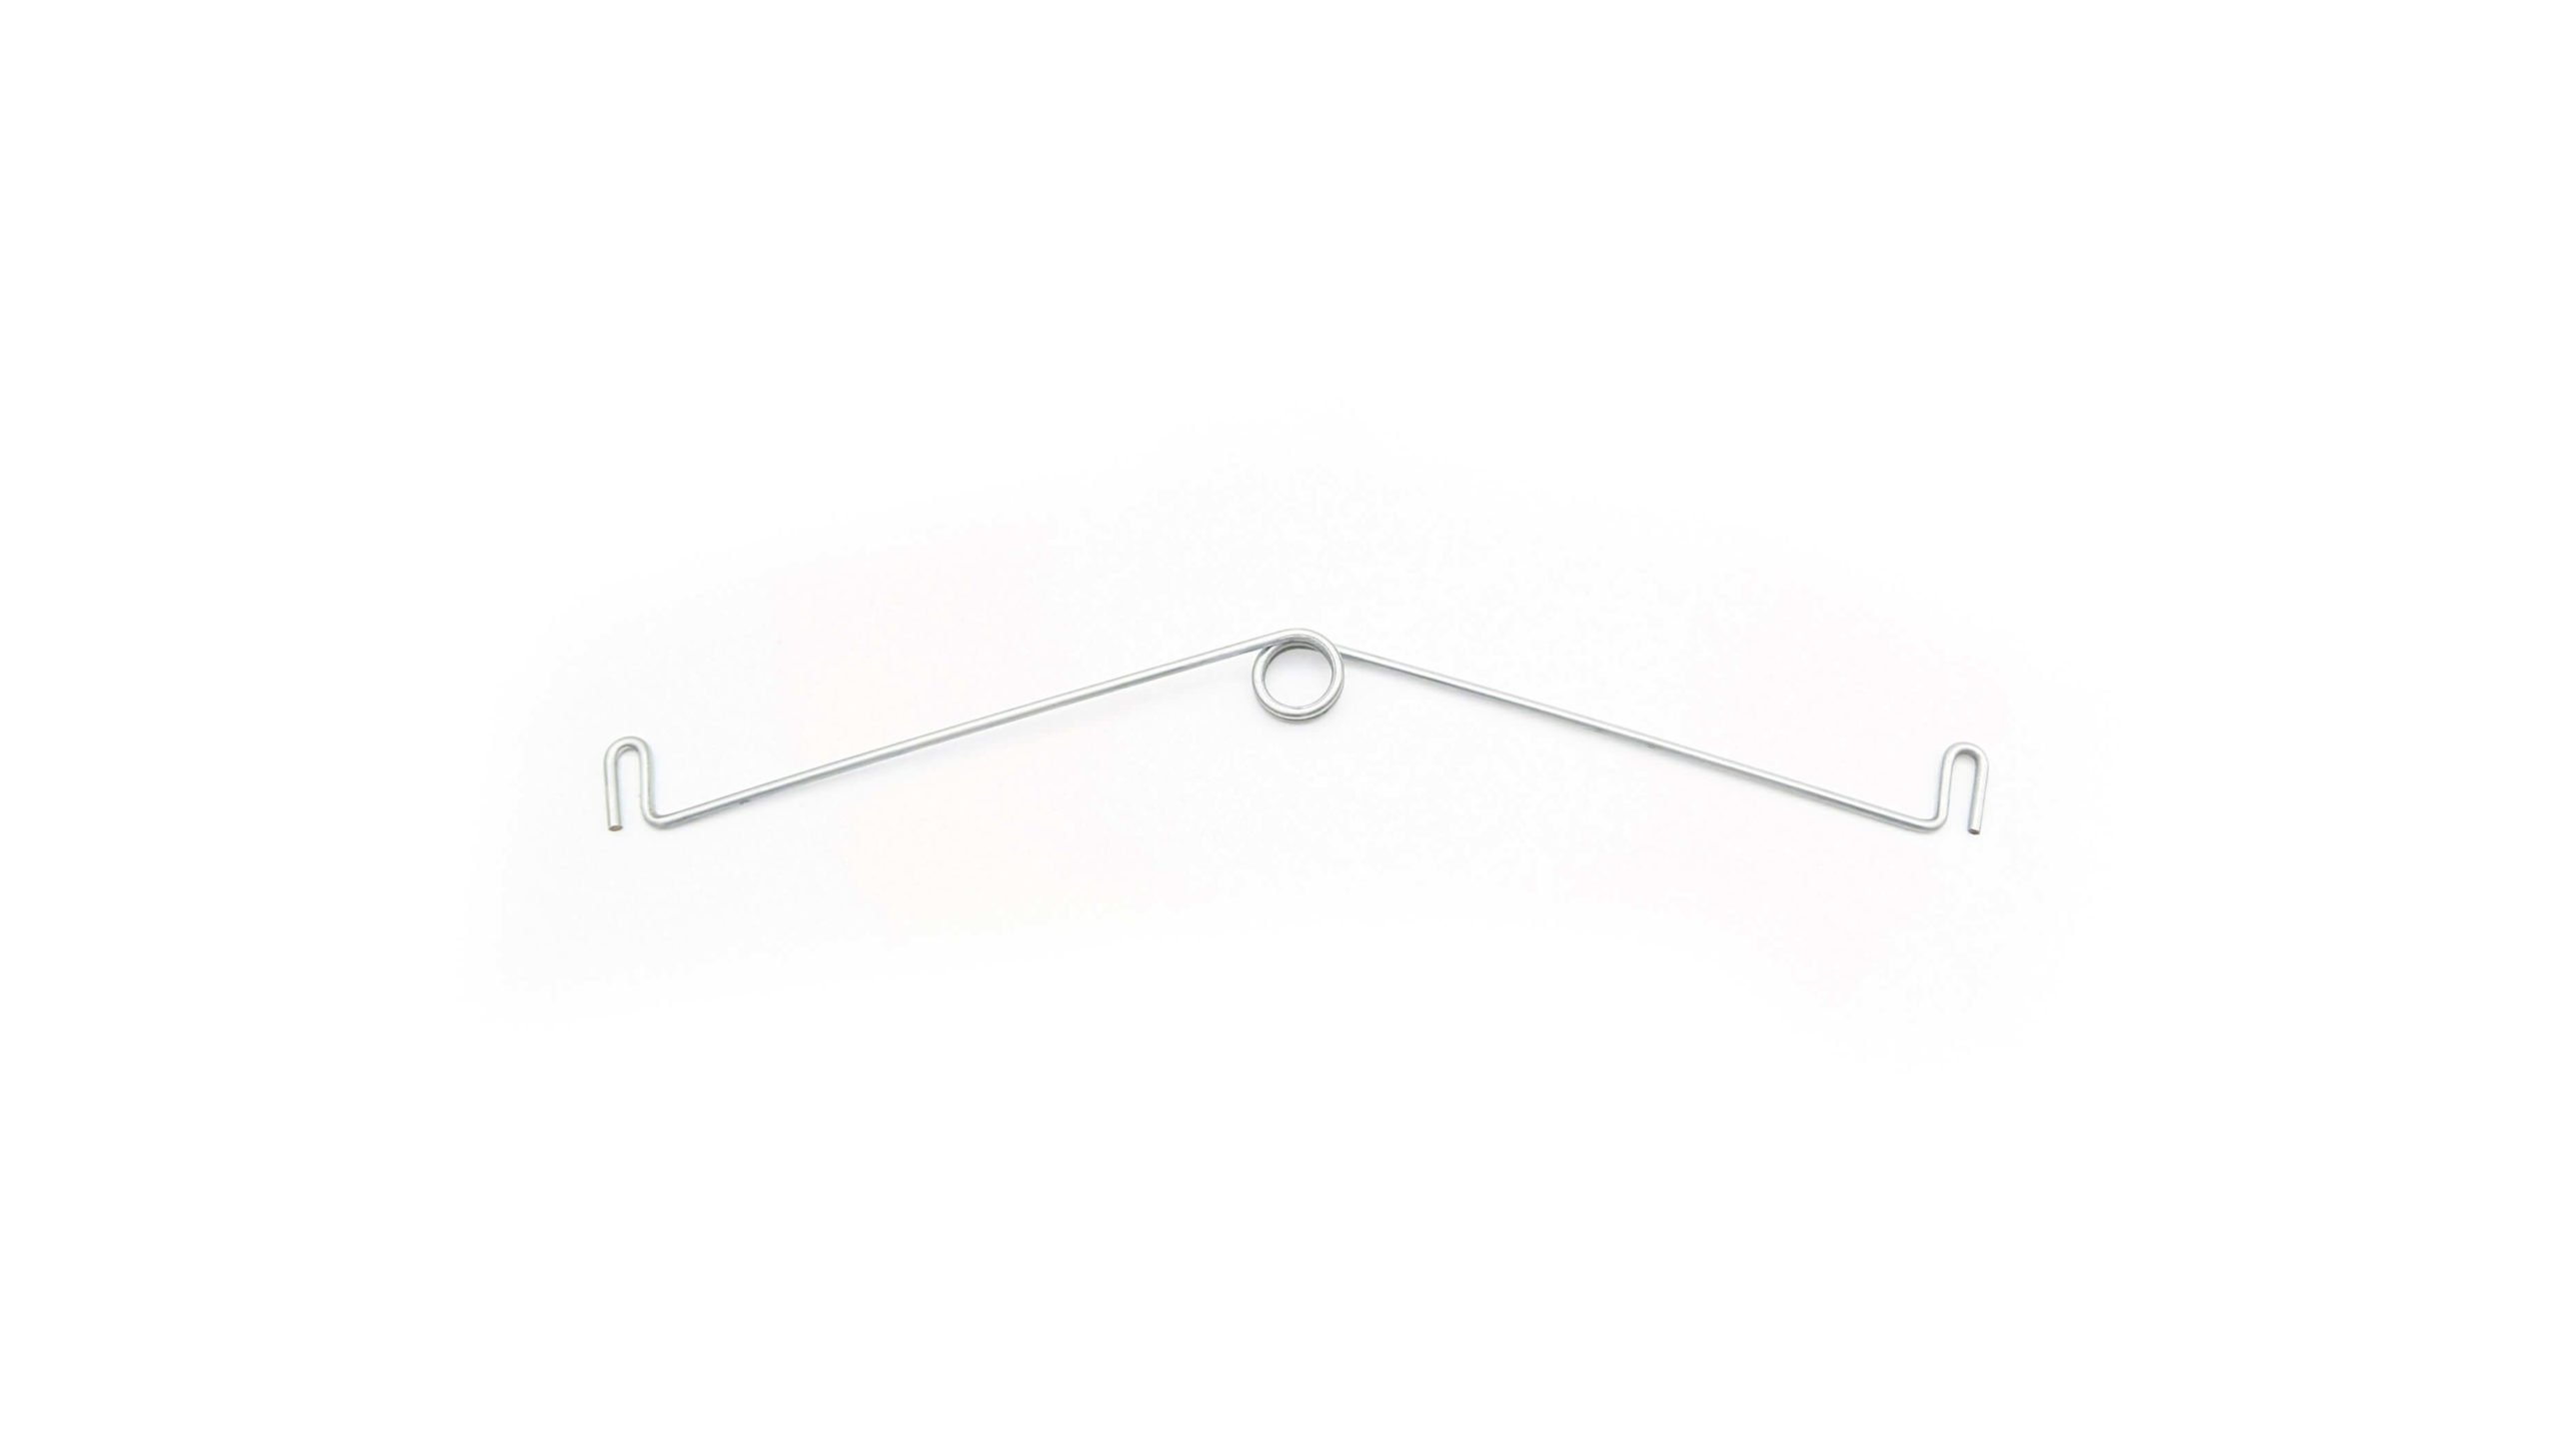
How to Replace Tension Springs on a Garage Door: A Step-by-Step Guide

Understanding Garage Door Tension Springs

Garage door tension springs are essential for lifting and lowering the door smoothly. They are powerful components under immense pressure, and even a minor malfunction can lead to dangerous situations. Replacing these springs is crucial for ensuring your garage door operates safely and efficiently.

Safety First: Essential Precautions

Before embarking on this project, remember, safety should be your utmost priority. Garage door tension springs are under immense force and can cause serious injury if not handled correctly. Here's a list of crucial safety precautions:

  • Disconnect the door opener: This prevents accidental movement during the spring replacement process.
  • Use heavy-duty gloves: Protect your hands from potential cuts and scrapes.
  • Wear safety glasses: Shield your eyes from flying debris.
  • Have a helper: It's always safer to work with an extra set of hands for support and assistance.
  • Use a spring compressor tool: This specialized tool is essential for safely compressing and releasing the spring tension.
  • Work on a solid surface: Ensure a stable working platform to prevent accidents.
  • Never work beneath the door: If the spring unexpectedly releases, you could be severely injured.

Gather Your Tools and Materials

Before starting, gather all the necessary tools and materials. This will ensure a smooth and efficient replacement process:

  • New tension springs: Make sure to purchase springs specifically designed for your garage door's weight and size.
  • Spring compressor tool: A crucial tool for safely compressing and releasing the spring tension.
  • Socket wrench: For removing and installing the spring attachment bolts.
  • Wrench: For tightening and loosening nuts and bolts.
  • Pliers: For removing wire clips and securing components.
  • Safety glasses and gloves: Protect your eyes and hands during the process.
  • Ladder: Provide safe access to the garage door.
  • Measuring tape: For accurately measuring the spring length.

Step-by-Step Guide to Replacing Tension Springs

Now, let's delve into the step-by-step process of replacing the tension springs:

  1. Release the door tension: Open the garage door slightly and manually lower it using the emergency release handle. Once the door is lowered, securely block it in place using heavy objects like wooden blocks.
  2. Compress the spring: Using the spring compressor tool, carefully compress the spring until it's almost fully extended. The compressor tool's arms should be securely fastened to the spring.
  3. Remove the old spring: Once the spring is compressed, use the socket wrench to loosen and remove the bolts that attach the spring to the door and the track. Carefully release the compressed spring while maintaining a firm grip on the compressor tool.
  4. Install the new spring: With the spring compressor still in place, position the new spring in its original location. Secure it to the door and track using the bolts removed earlier. Make sure the spring is aligned correctly.
  5. Release the spring tension: Slowly and carefully release the tension on the spring compressor tool, ensuring it's done gradually and controlled. As the spring extends, monitor for proper alignment and even tension.
  6. Repeat for the other spring: Follow the same steps to replace the second tension spring. Ensure both springs are compressed to the same degree and have even tension.
  7. Adjust the door balance: Once both springs are installed, manually lift the door a few inches. It should feel balanced and not drop suddenly when released. If necessary, adjust the spring tension using the spring adjuster located on the door track. This may involve slightly compressing or releasing the springs.
  8. Reconnect the door opener: Once the door is balanced and working smoothly, reconnect the door opener and test the operation. The door should open and close effortlessly, without any signs of strain or resistance.
  9. Final check: After testing the door, inspect all connections and attachments to ensure they are secure. Make sure the spring compressor is removed completely, and the door is securely blocked again.

Additional Tips and Considerations

Here are some additional tips to make the replacement process smoother and safer:

  • Spring length: Always purchase replacement springs that are the same length and diameter as the originals. Incorrect sizing can lead to improper tension and potential hazards.
  • Spring tension: If you're unsure about the correct spring tension, consult a professional for guidance. Improper tension can lead to premature spring failure or unsafe operation.
  • Spring winding direction: Ensure the new springs are wound in the same direction as the originals. Reversing the direction can cause serious damage.
  • Wear appropriate attire: Loose clothing or jewelry can get caught in the moving parts of the garage door, potentially leading to injury.
  • Work in a well-lit area: Ensure adequate lighting to see clearly and avoid mistakes.
  • Don't rush the process: Take your time and follow each step carefully to avoid errors.

When to Call a Professional

While replacing garage door tension springs may seem like a DIY project, some situations warrant calling a professional. These situations include:

  • Unfamiliar with the process: If you lack experience with garage door repair, it's best to leave it to the experts.
  • Heavy or oversized doors: Larger and heavier garage doors may require specialized tools and expertise.
  • Damaged springs or components: If the springs are severely damaged or other components are broken, a professional can provide the necessary repairs and replacements.
  • Safety concerns: If you feel uncomfortable or unsure about any aspect of the process, prioritize safety and contact a professional.

Closing Summary

Replacing tension springs on a garage door is a challenging task, but with careful preparation, safety precautions, and a step-by-step approach, it can be achieved successfully. Remember to always prioritize safety and seek professional assistance if you have any doubts. By following the steps outlined in this guide, you'll be well on your way to a safely functioning garage door that adds convenience and security to your home.

Replacing garage door tension springs is a vital maintenance task that ensures smooth and safe operation. This guide has equipped you with the necessary knowledge and steps to tackle this DIY project. Remember to prioritize safety throughout the process, and don't hesitate to call a professional if you feel unsure or encounter any difficulties. By following these guidelines, you can confidently maintain your garage door and enjoy its reliable performance for years to come.

Video and Image Gallery

Browse some of the custom wire forms and springs that we manufacture. Don’t see what you need? We specialize in made-to-order products that meet your application requirements.

Visit Our Gallery

Additional Resources

Still have questions? Brush up on industry terms and properties of materials and learn what you need to receive a quote and place an order.

divider Bar

Contact Chaoyi Spring

Need a custom wire form or coil spring? We make it work. Fill out the contact form and a representative will respond within 1 business day. If you have a PDF or CAD file, you can submit to request a quote.

i

Request a Quote

Product

i

Your Team For Innovative Wire Forming

We provide solutions for complex, high-quality
wire forms and coil springs.

Dongguan, Guangdong, China, IL 523565

CN FlagP: (+86)13713309585 | Contact Us

Spring Hardware Design, R&D and Processing and Manufacturing.