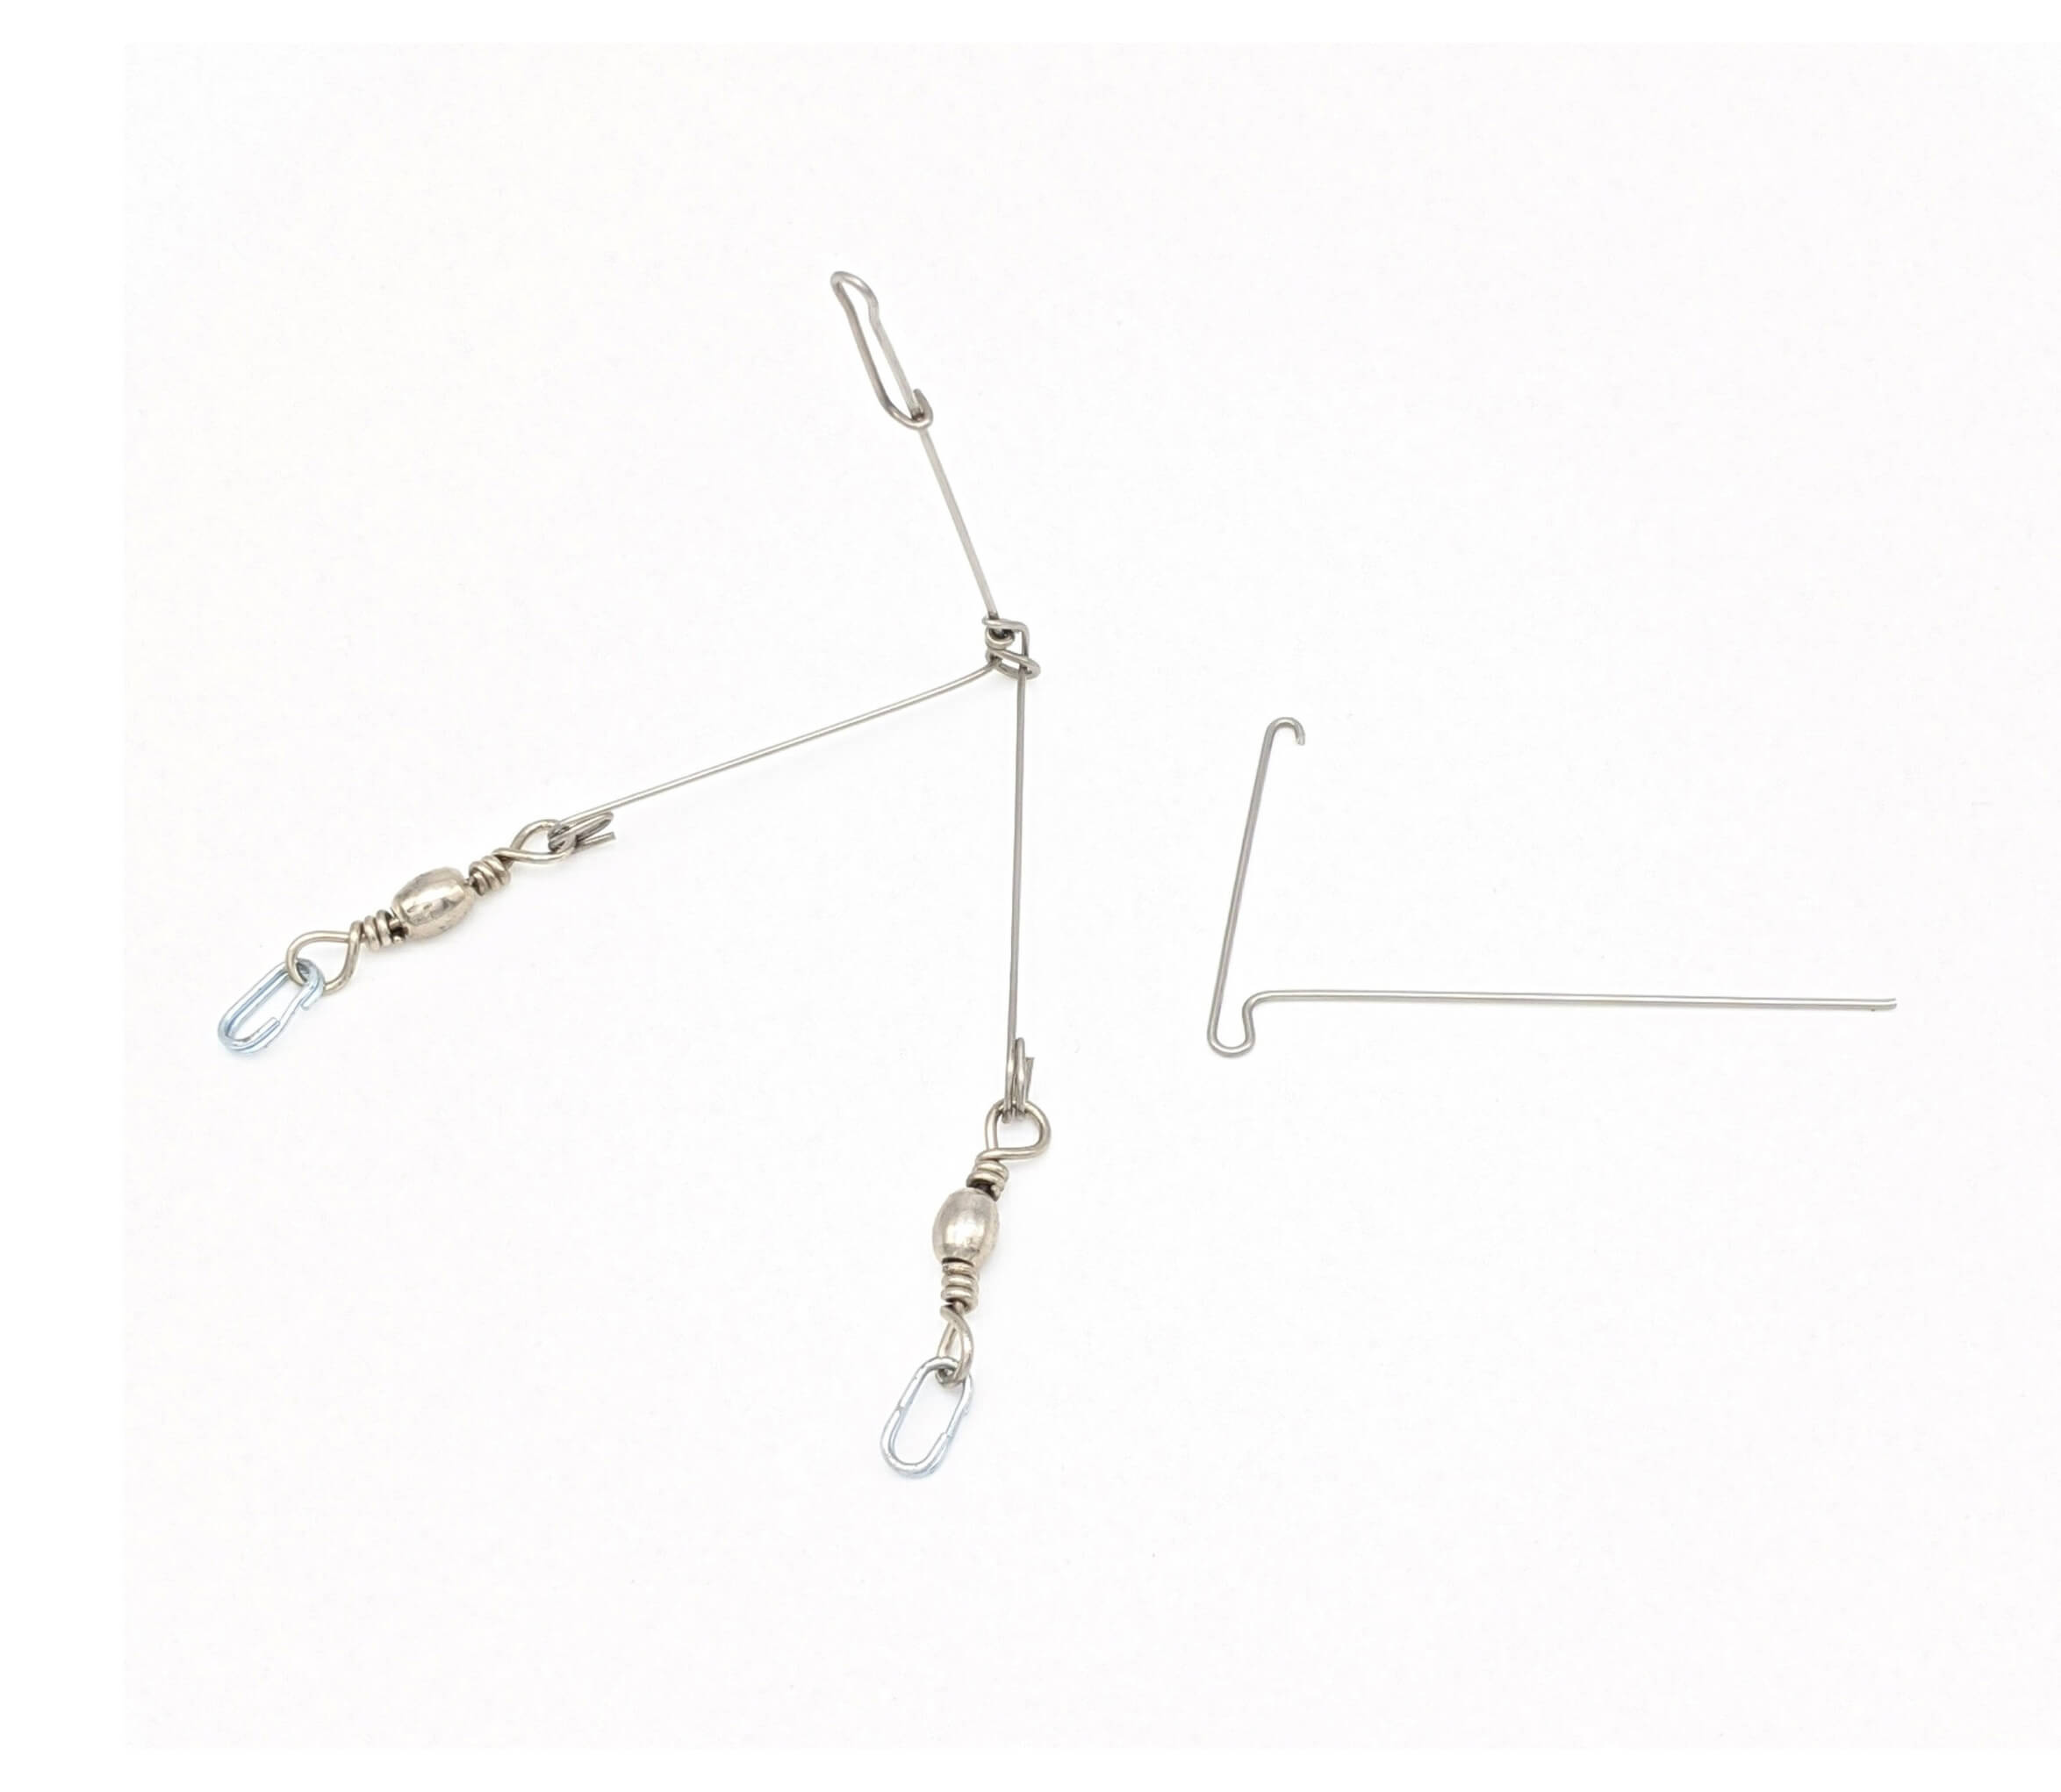
Get unique, complex parts easily. No matter your requirements, Chaoyi Spring creates hard-to-produce coil springs and wire forms.
Let us help you create the custom wire form you need, from S-hooks and J-hooks to utility hooks and more.
We work closely with customers across a wide range of industries, helping them design and manufacture made-to-order parts.
Why choose Chaoyi Spring? We prioritize customer-focused collaboration, modern equipment and the latest technology to make your parts per print.
Find the information and guidance you need, from measuring a spring to learning about materials, placing an order and much more.
Replacing garage door torsion springs is a challenging task that requires caution and expertise. These springs are under immense tension, and a mistake can lead to serious injury. However, with


Replacing garage door torsion springs is a challenging task that requires caution and expertise. These springs are under immense tension, and a mistake can lead to serious injury. However, with the right tools and knowledge, you can tackle this project yourself and save money on professional labor. This guide will walk you through the process step-by-step, explaining safety precautions, necessary tools, and the replacement procedure itself. Let's dive in and learn how to replace garage door torsion springs safely and effectively.

Before we jump into the replacement process, it's crucial to understand the inherent dangers involved. Garage door torsion springs are under immense tension, capable of causing serious injury if they snap or break. You're dealing with powerful forces, so safety must be your top priority.
Here are some essential safety tips to keep in mind:
Replacing garage door torsion springs requires specialized tools. You'll need to invest in the following equipment to ensure a successful and safe replacement:
Now, let's break down the replacement process into manageable steps. Remember, safety comes first, so take your time and carefully follow each step. Always refer to your garage door manufacturer's instructions for specific details about your door model.
Start by disconnecting the garage door opener from the power supply. This will prevent accidental operation while you're working on the springs. You can unplug the opener from the wall outlet or simply flip the circuit breaker off. Ensure the door is fully closed and secured before proceeding.
This is where the spring compressor comes into play. Carefully attach the compressor to the spring, ensuring it's firmly secured. Slowly tighten the compressor to release tension from the spring. As you do this, the spring will start to compress. This is a crucial step, as it significantly reduces the risk of the spring snapping while you're working on it.
Once the tension is released, you can remove the old springs. Using your socket wrench set, loosen and remove the nuts holding the springs to the shaft. Carefully remove the springs, keeping them compressed to prevent them from suddenly springing back.
Now it's time to install the new springs. First, carefully slide them onto the shaft, aligning them with the existing holes. Make sure the springs are seated properly and not twisted. Using your socket wrench, tighten the nuts to secure the new springs in place.
This is where the torsion spring winder comes in. Using the winder, carefully wind the springs onto the shaft, ensuring proper tension and function. Refer to your garage door manufacturer's instructions for the correct number of turns for your specific door model.
Once the springs are installed, it's essential to check for proper function. Open and close the garage door several times to ensure it's balanced and operating smoothly. If the door is uneven or wobbly, you may need to adjust the tension of the springs by winding or unwinding them slightly.
After ensuring proper function, you can reconnect the garage door opener to the power source. Turn on the circuit breaker or plug the opener back into the outlet. Now, test the opener to make sure the door is operating correctly.
If at any point during the replacement process you feel uncomfortable or unsure, it's best to stop and call a professional garage door technician. They have the expertise and experience to handle this challenging job safely and effectively. Your safety is always the top priority.
Replacing garage door torsion springs is a demanding task that demands patience, caution, and the right tools. Remember, safety should always come first. If you're not comfortable with the process or lack the necessary experience, it's best to leave it to a qualified garage door technician. But if you're determined to tackle this project yourself, follow these instructions carefully and prioritize your safety at every step. With proper knowledge and preparation, you can successfully replace your garage door torsion springs and save money on professional labor.
Browse some of the custom wire forms and springs that we manufacture. Don’t see what you need? We specialize in made-to-order products that meet your application requirements.
Visit Our GalleryNeed a custom wire form or coil spring? We make it work. Fill out the contact form and a representative will respond within 1 business day. If you have a PDF or CAD file, you can submit to request a quote.