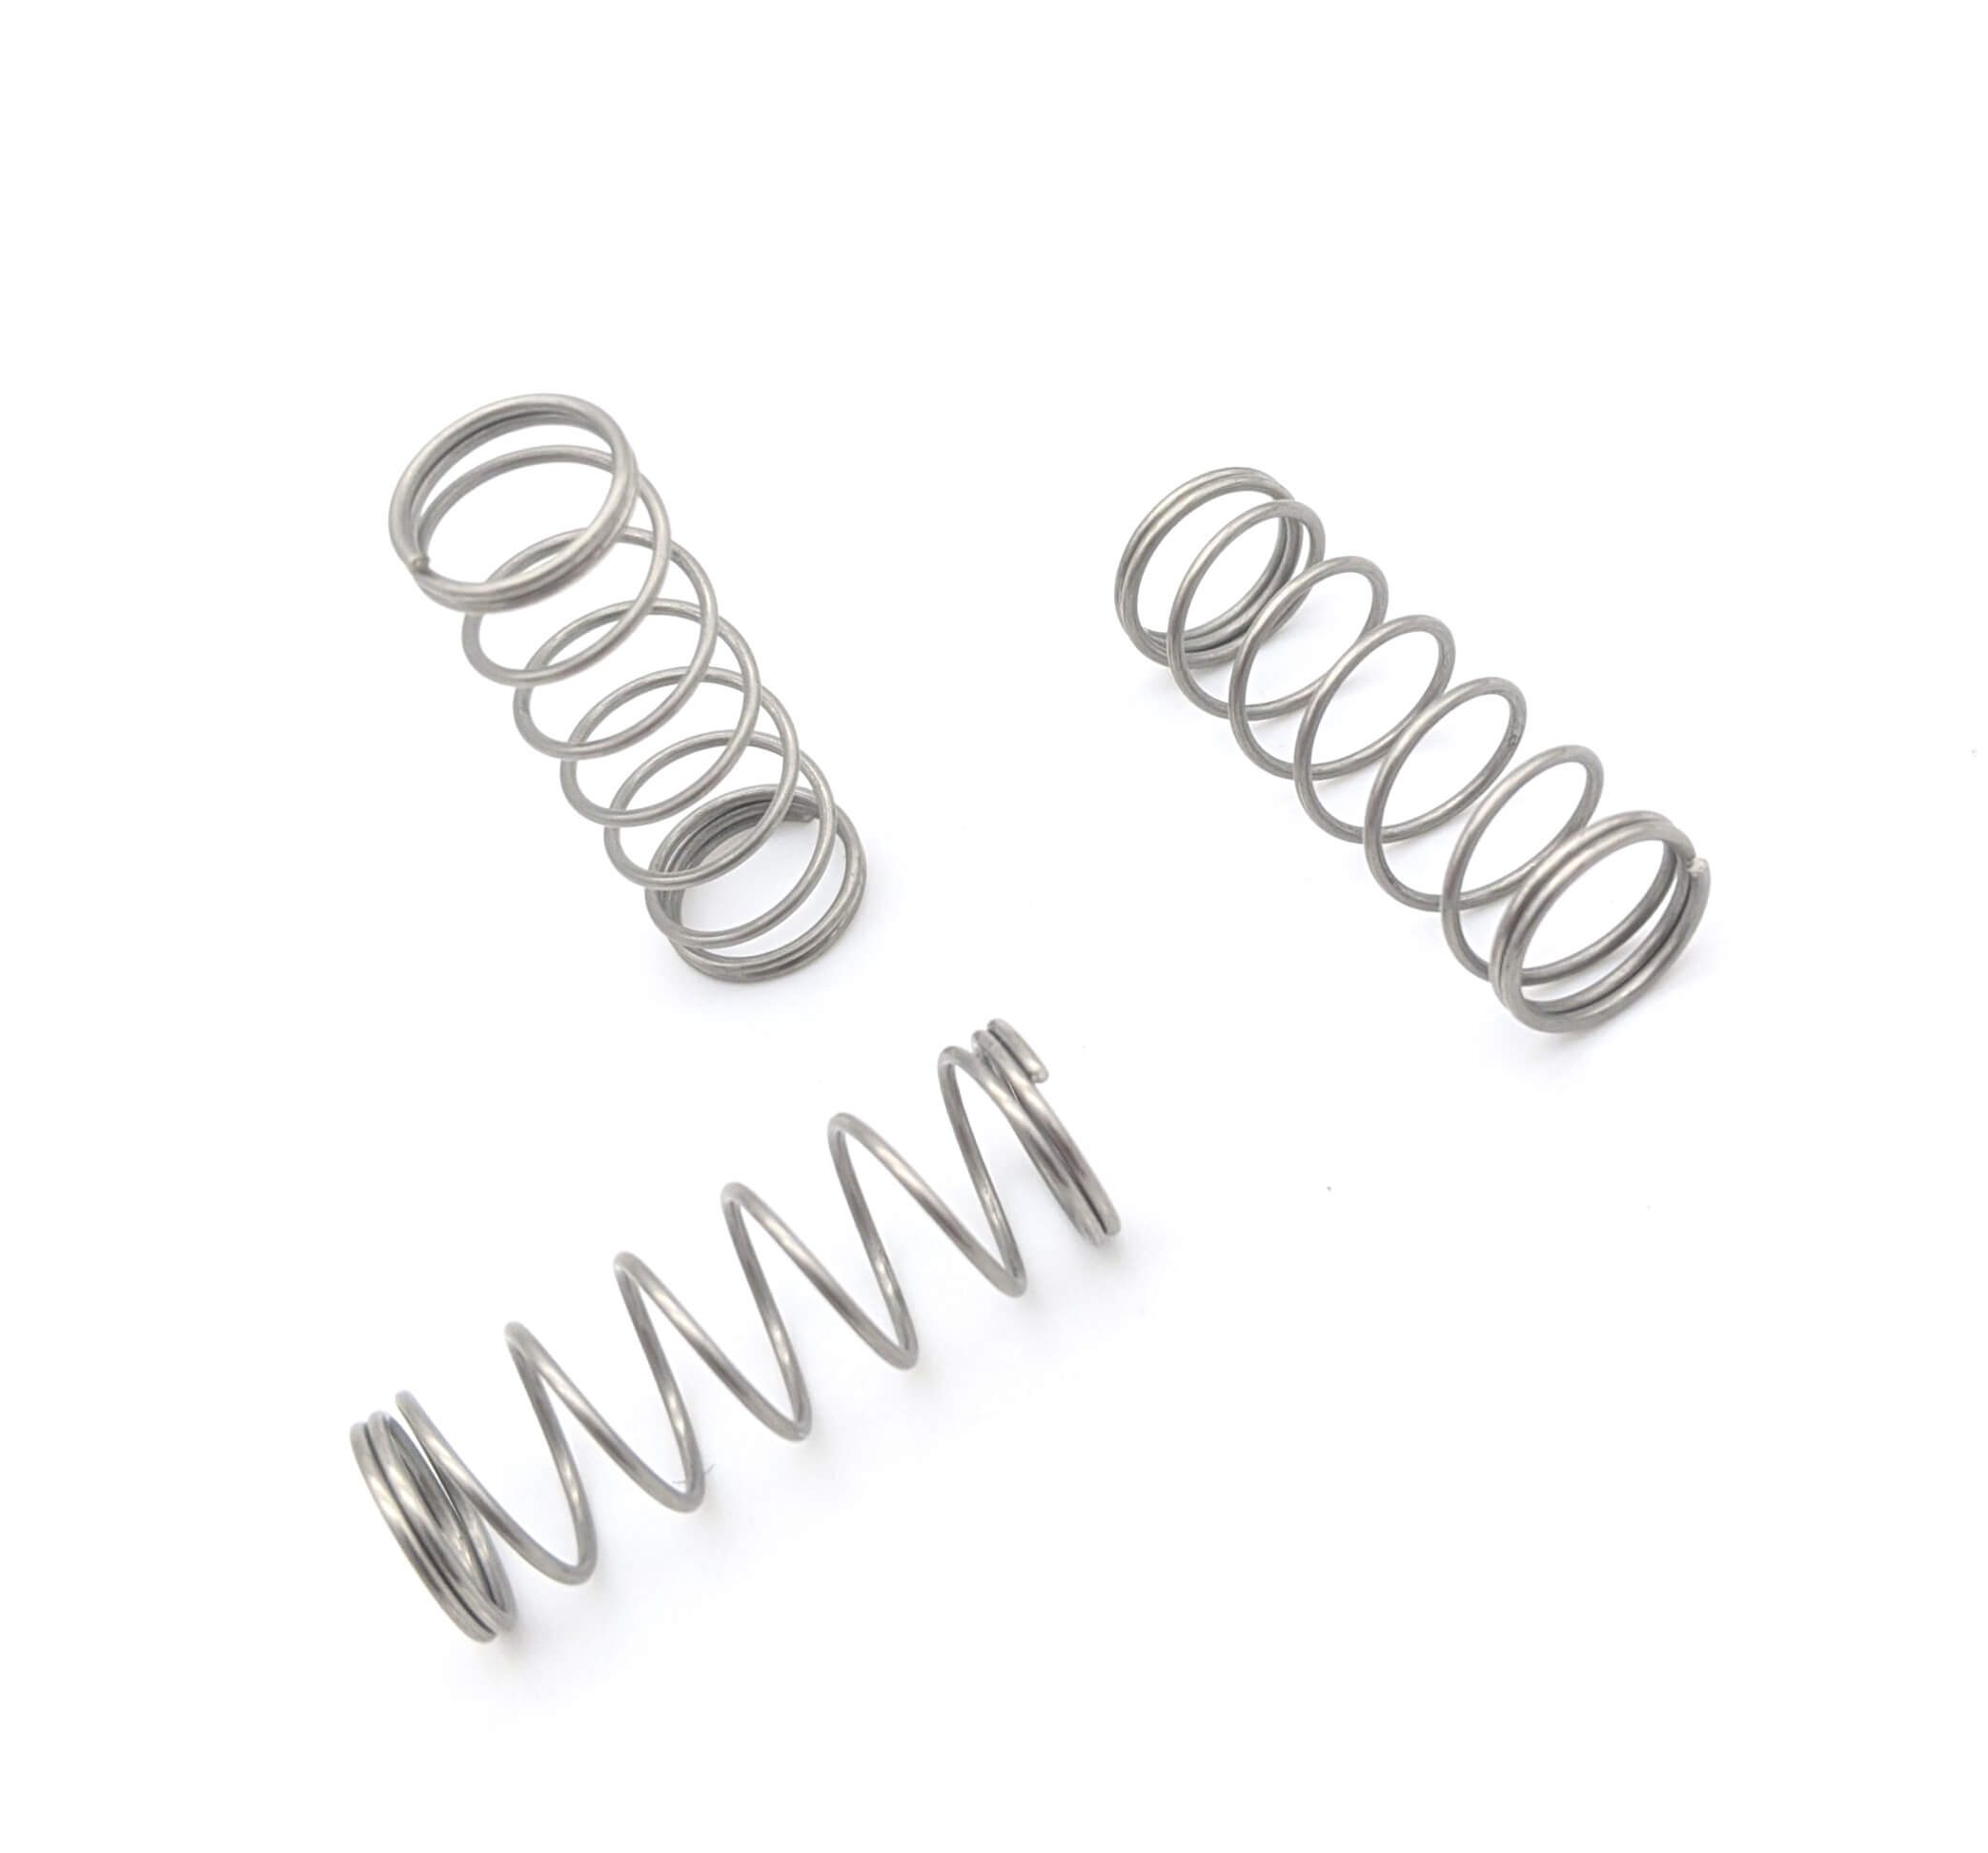
Get unique, complex parts easily. No matter your requirements, Chaoyi Spring creates hard-to-produce coil springs and wire forms.
Let us help you create the custom wire form you need, from S-hooks and J-hooks to utility hooks and more.
We work closely with customers across a wide range of industries, helping them design and manufacture made-to-order parts.
Why choose Chaoyi Spring? We prioritize customer-focused collaboration, modern equipment and the latest technology to make your parts per print.
Find the information and guidance you need, from measuring a spring to learning about materials, placing an order and much more.
Replacing a garage door tension spring is a task that can seem daunting, but with the right tools and a bit of caution, it's actually quite manageable. These springs are


Replacing a garage door tension spring is a task that can seem daunting, but with the right tools and a bit of caution, it's actually quite manageable. These springs are responsible for the smooth operation of your garage door, providing the necessary force to lift and lower it. A broken or worn-out spring can lead to dangerous situations, so it's important to address the issue promptly. This guide will walk you through the process, explaining each step in detail to ensure a successful and safe replacement.

Before embarking on this project, it's crucial to understand the potential dangers involved. Garage door springs are under immense tension, and if mishandled, they can cause serious injury. Always prioritize safety by wearing protective gear, including gloves, safety glasses, and sturdy shoes. Additionally, ensure the garage door is disconnected from its opener and is fully supported with sturdy blocks or jacks before starting any work.
Now, let's gather the necessary supplies: a new tension spring (matching the existing one), a spring compressor tool, a socket wrench set, a pair of pliers, a level, and a marker. Make sure the new spring is specifically designed for your garage door and has the same specifications as the original.
With the door secured, start by releasing the tension on the old spring. This is where the spring compressor tool comes in. Carefully position the compressor on the spring, ensuring a secure grip. Slowly tighten the compressor until the spring is fully compressed and its tension is relieved. Be sure to maintain a firm grip on the compressor throughout this process.
Next, remove the spring from its mounting brackets. Using a socket wrench, loosen and remove the bolts securing the spring to the brackets. If you're working with a double spring setup, repeat this process for both springs. Once removed, carefully store the old spring for disposal later.
Now it's time to install the new spring. Align the new spring with its corresponding mounting bracket. Carefully guide the spring into the brackets, ensuring it is seated properly. Once in place, secure the spring with the bolts, using the socket wrench to tighten them firmly.
If you have a double spring setup, repeat this procedure for the second spring. After installing both springs, slowly release the pressure on the spring compressor. As you do so, carefully monitor the movement of the springs to ensure they are functioning smoothly.
After reinstalling the springs, it's essential to test the garage door's operation. Slowly open and close the door several times, paying attention to its movement. The door should open and close smoothly and effortlessly. If you notice any resistance, uneven movement, or binding, there might be an issue with the installation. Double-check the alignment and tension of the springs.
If needed, you can adjust the spring tension by slightly loosening or tightening the bolts that hold the springs in place. Remember, a bit of adjustment goes a long way. It's always better to err on the side of caution and tighten the springs slightly more than you think is necessary. You can always loosen them further if needed.
Once you're satisfied with the garage door's operation, remove the support blocks or jacks. Reconnect the garage door opener and test its functionality. It's a good idea to run the opener through a few cycles to ensure everything is working smoothly.
After completing the replacement, remember to keep your garage door springs lubricated. Regular lubrication helps prevent premature wear and tear and ensures smooth, quiet operation. Apply a light coat of lubricant to the springs and any moving parts, including the rollers and hinges.
While replacing a garage door tension spring may seem like a DIY project, it's essential to remember the potential dangers involved. If you're uncomfortable tackling this task, it's always advisable to seek professional assistance. A qualified technician can safely and efficiently handle the replacement, ensuring your garage door operates correctly and without risk of injury.
Replacing a garage door tension spring can be a rewarding DIY project, saving you money and giving you a sense of accomplishment. However, it's crucial to prioritize safety throughout the process. Remember to wear protective gear, use the right tools, and follow the instructions carefully. If you have any doubts or feel uncomfortable at any point, don't hesitate to call a professional.
By taking the time to learn and understand the process, you can tackle this essential maintenance task with confidence and peace of mind. A well-maintained garage door contributes to the safety and functionality of your home, providing you with a reliable and secure access point for years to come.
Browse some of the custom wire forms and springs that we manufacture. Don’t see what you need? We specialize in made-to-order products that meet your application requirements.
Visit Our GalleryNeed a custom wire form or coil spring? We make it work. Fill out the contact form and a representative will respond within 1 business day. If you have a PDF or CAD file, you can submit to request a quote.