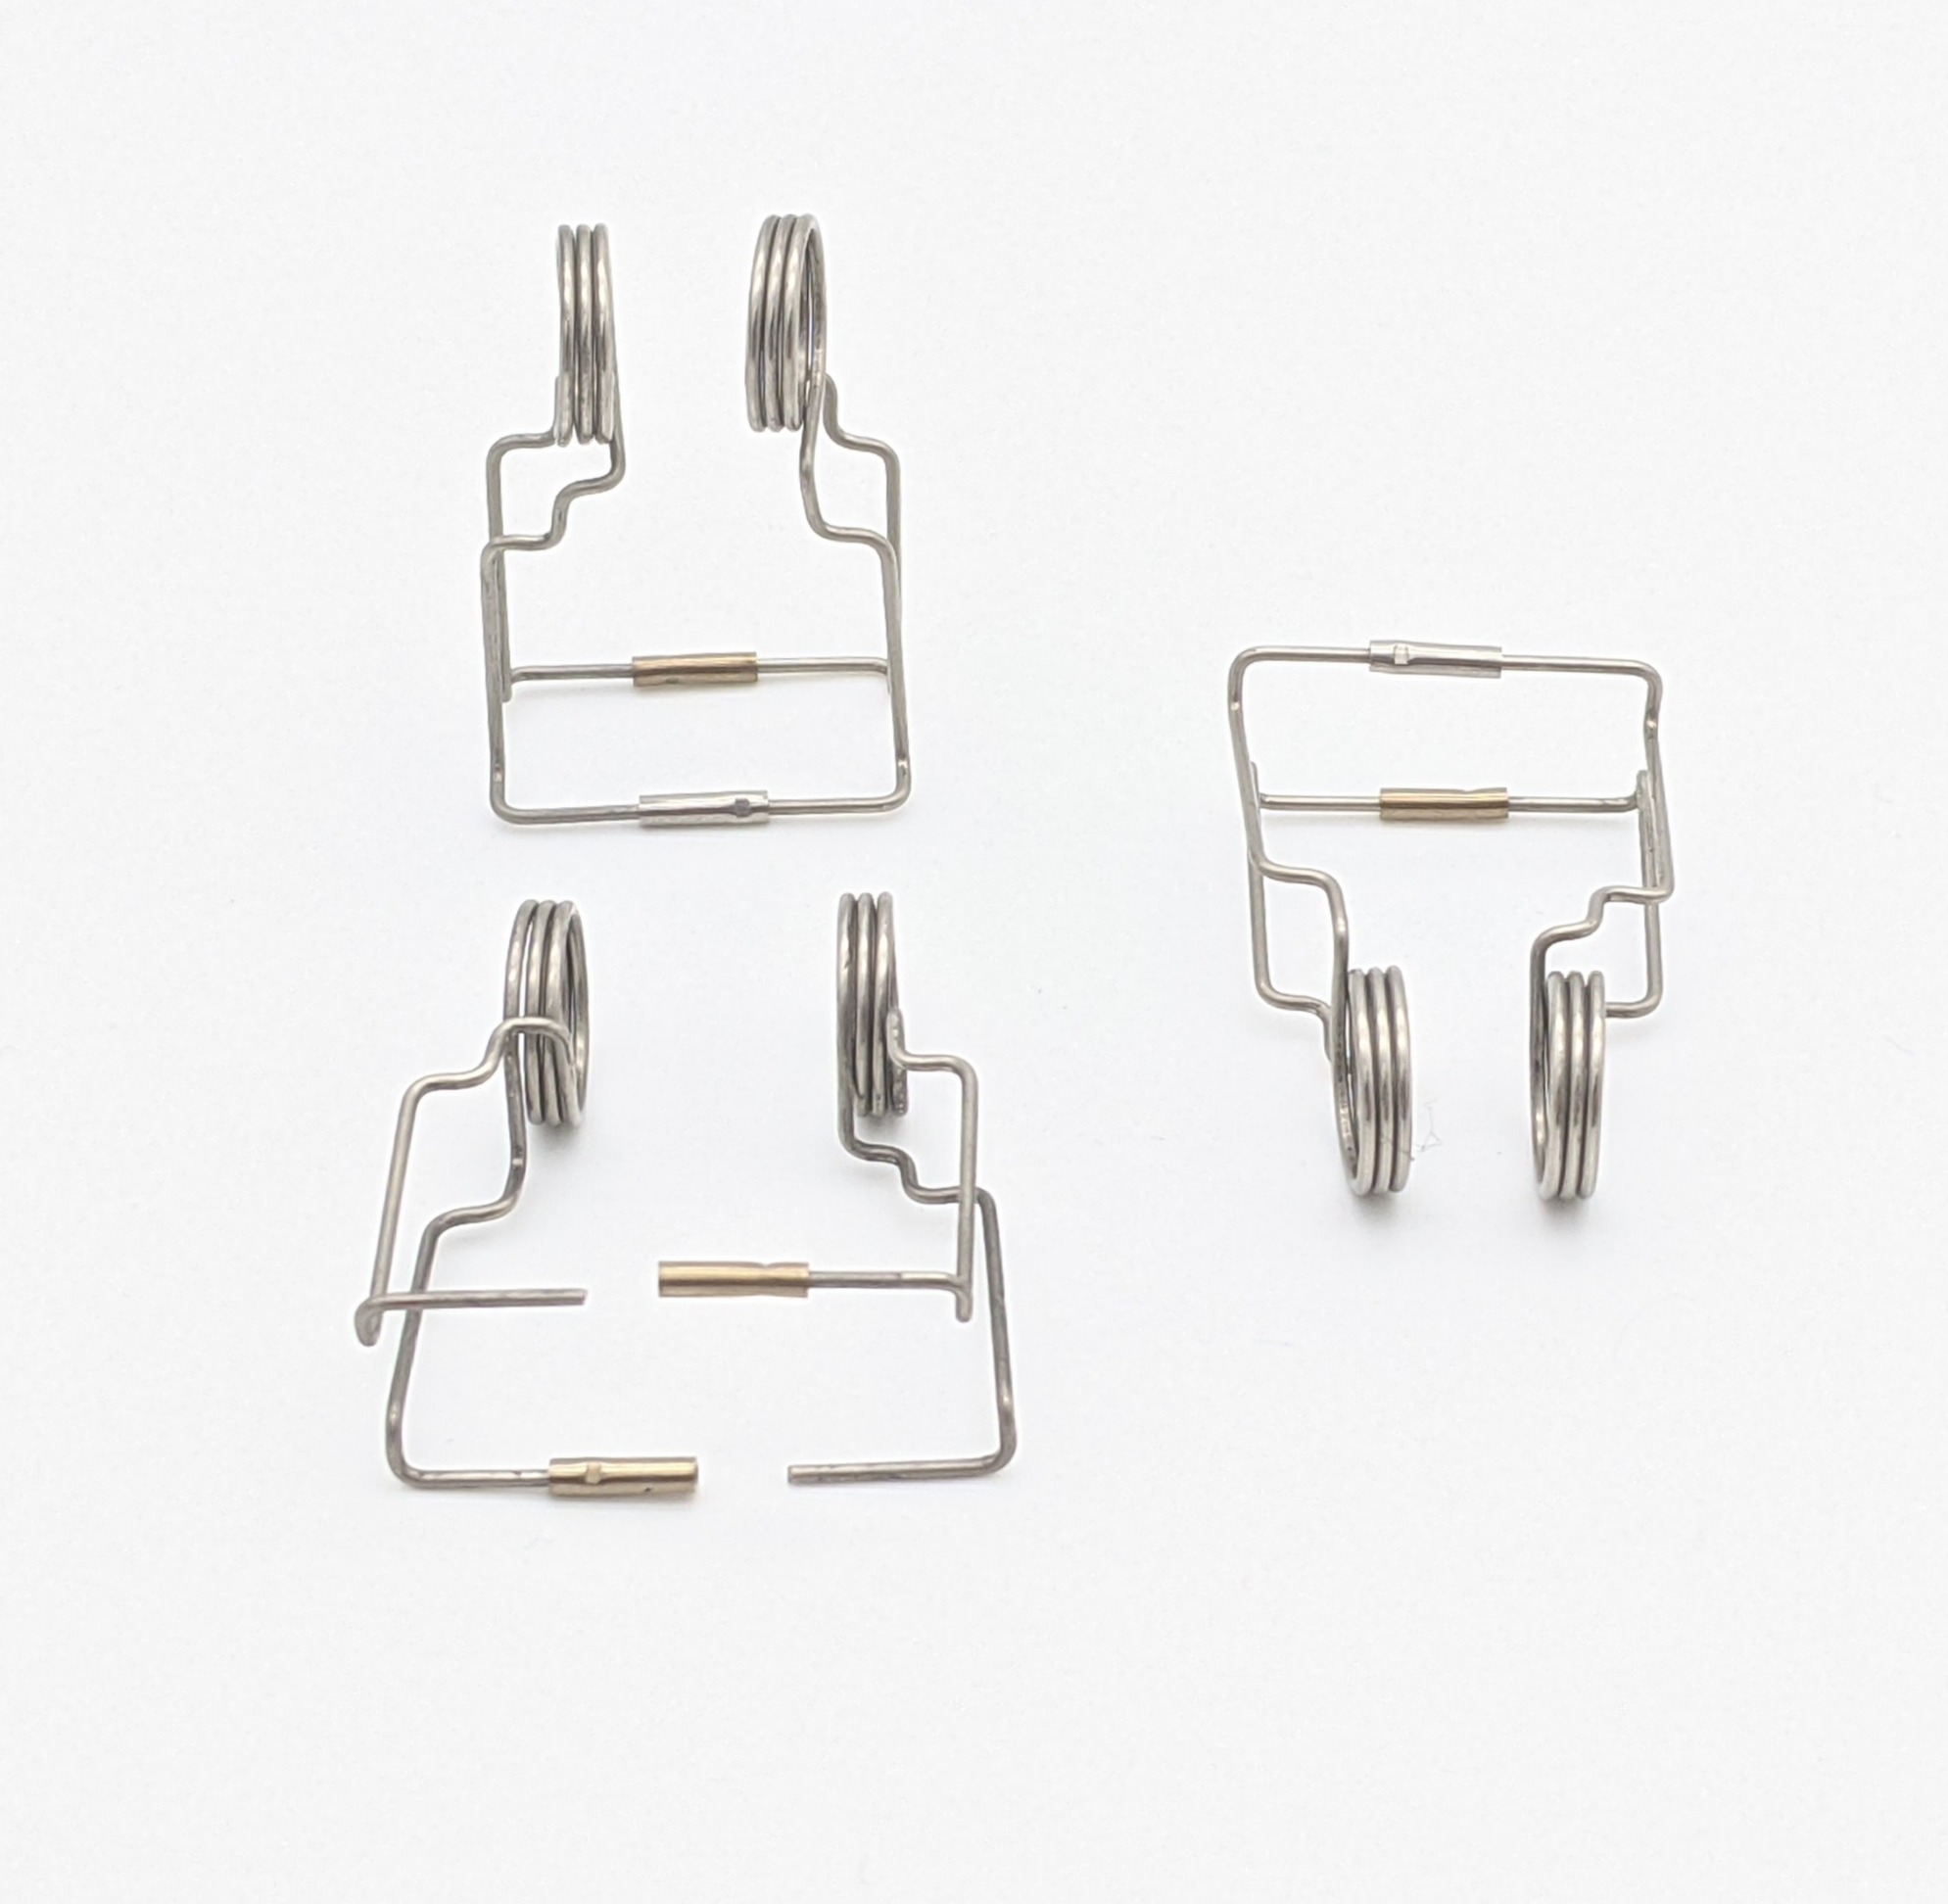
Get unique, complex parts easily. No matter your requirements, Chaoyi Spring creates hard-to-produce coil springs and wire forms.
Let us help you create the custom wire form you need, from S-hooks and J-hooks to utility hooks and more.
We work closely with customers across a wide range of industries, helping them design and manufacture made-to-order parts.
Why choose Chaoyi Spring? We prioritize customer-focused collaboration, modern equipment and the latest technology to make your parts per print.
Find the information and guidance you need, from measuring a spring to learning about materials, placing an order and much more.
Replacing struts on your car can seem like a daunting task, especially when it comes to compressing the springs. But with the right tools and techniques, it's actually a manageable


Replacing struts on your car can seem like a daunting task, especially when it comes to compressing the springs. But with the right tools and techniques, it's actually a manageable DIY project. This guide will walk you through the process of safely and effectively compressing springs on struts, ensuring a smooth and successful repair.

Before diving into the process, it's essential to understand why compressing springs on struts is necessary. When replacing struts, you'll need to remove the old strut assembly, which includes the spring. However, these springs are designed to be under tension, and releasing them without proper compression can lead to dangerous and unpredictable results. Imagine a powerful coiled spring suddenly springing back with force - not something you want happening while working on your car!
Spring compressors are specifically designed to manage this force, allowing you to safely remove and install new springs without risking injury. These tools provide a controlled way to reduce the spring's tension, making the whole process safer and easier.
There are various types of spring compressors available on the market, each with its own advantages and disadvantages. The most common types include:
When choosing a spring compressor, consider the size and type of spring on your struts. For most standard car struts, a two-arm compressor will be sufficient. If you're working on heavier vehicles or have particularly large springs, a hydraulic compressor may be a better choice. Always ensure the compressor you choose is compatible with the specific strut and spring you're working on.
Working with compressed springs is inherently dangerous, so safety should be your top priority. Here are some essential precautions:
Once you have the right tools and have taken all necessary precautions, you can begin the spring compression process. Here's a detailed guide to help you through the process:
Begin by parking your vehicle on a level surface and engaging the parking brake. Use a jack to lift the vehicle and secure it with jack stands. Make sure the jack stands are placed under solid, flat surfaces of the vehicle's frame, not just on the suspension components.
Remove the lug nuts and take off the wheel and tire. This will give you easier access to the strut assembly.
On some vehicles, the stabilizer bar link may be connected to the strut assembly. You'll need to loosen the nut securing the link and remove it. This will provide more clearance for removing the strut.
Loosen the nuts that secure the strut to the steering knuckle, control arm, and the vehicle's body. Carefully remove the strut assembly. Be prepared for the spring to try and expand as you release the bolts.
Now comes the crucial step of using the spring compressor. Position the spring compressor over the spring, making sure it's securely clamped onto the strut body and the spring coils.
Slowly and carefully, begin compressing the spring using the handle of the spring compressor. The spring will resist compression, so use steady pressure and avoid sudden movements.
Once the spring is compressed enough, the strut top can be removed from the spring seat. You can now remove the spring entirely.
After removing the old spring, carefully position the new spring onto the strut assembly. Make sure the spring is correctly oriented and seated properly.
Slowly and cautiously, release the pressure on the spring compressor. The spring will expand, so be prepared for it to move slightly.
Once the spring compressor is completely removed, reassemble the strut assembly, following the reverse order of disassembly. Tighten all bolts and nuts to the manufacturer's specifications.
Reinstall the wheel and tire, making sure the lug nuts are properly tightened.
Lower the vehicle to the ground using the jack and remove the jack stands.
After the strut assembly is reinstalled, take your vehicle for a test drive. Pay close attention to any unusual noises or handling characteristics. If everything seems normal, you've successfully replaced the struts and springs!
Here are some additional tips to help ensure a smooth and successful spring compression process:
While compressing springs on struts can seem intimidating, it's a manageable task with the right knowledge and equipment. By following the steps outlined in this guide, you can safely and effectively replace your struts and springs, ensuring your car's safety and performance. Remember, safety should be your top priority, and if you have any doubts about your abilities, seek professional help. Happy wrenching!
Replacing struts and compressing springs is an essential maintenance task for ensuring your vehicle's safety and handling. Remember to prioritize safety, use the correct tools, and follow the steps carefully. With a little effort and the right guidance, you can tackle this project yourself and save money in the process.
Browse some of the custom wire forms and springs that we manufacture. Don’t see what you need? We specialize in made-to-order products that meet your application requirements.
Visit Our GalleryNeed a custom wire form or coil spring? We make it work. Fill out the contact form and a representative will respond within 1 business day. If you have a PDF or CAD file, you can submit to request a quote.